Click or scroll to zoom
Tap or pinch to zoom
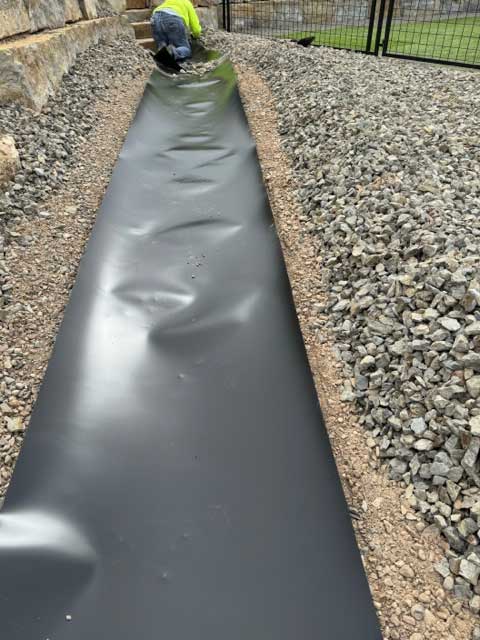
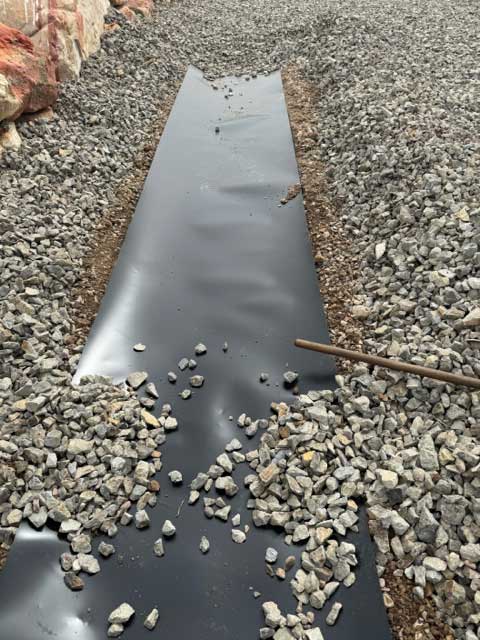
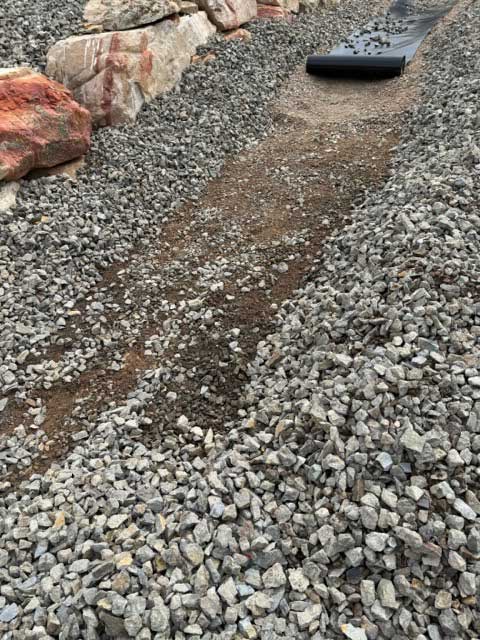
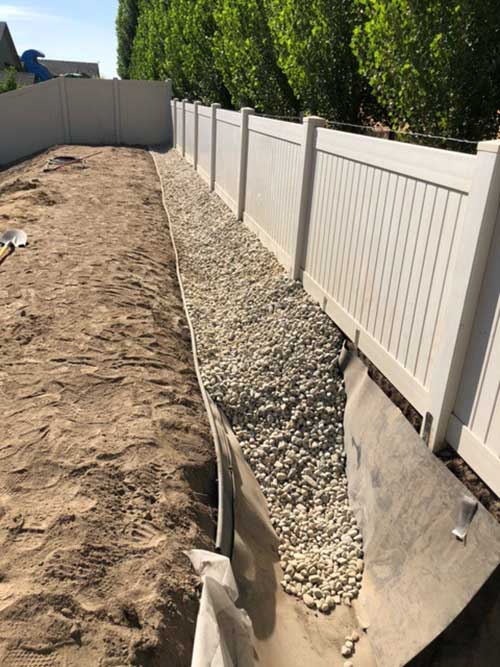
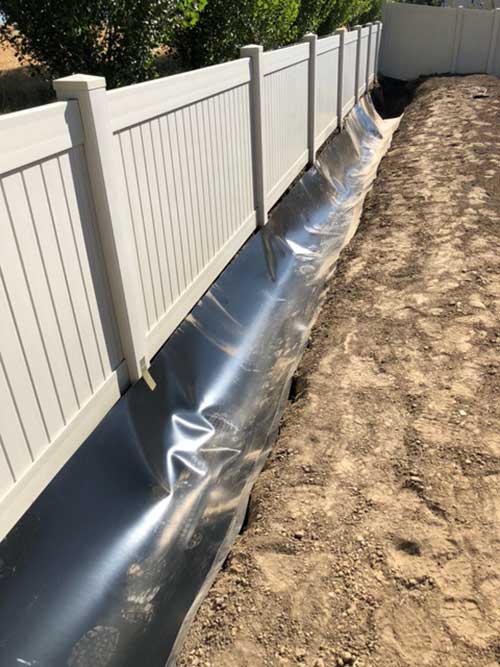
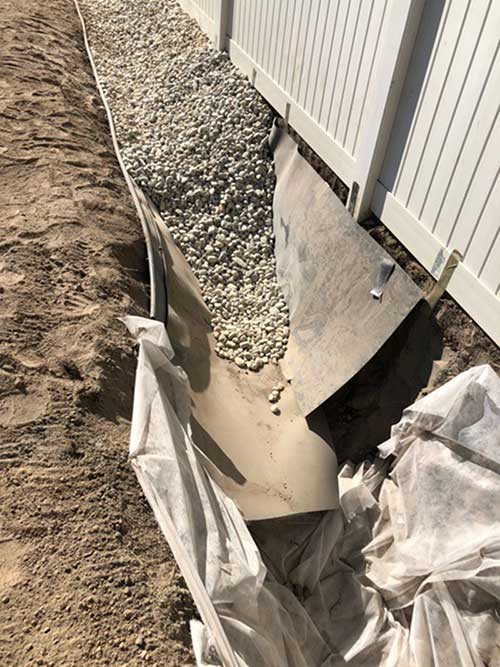
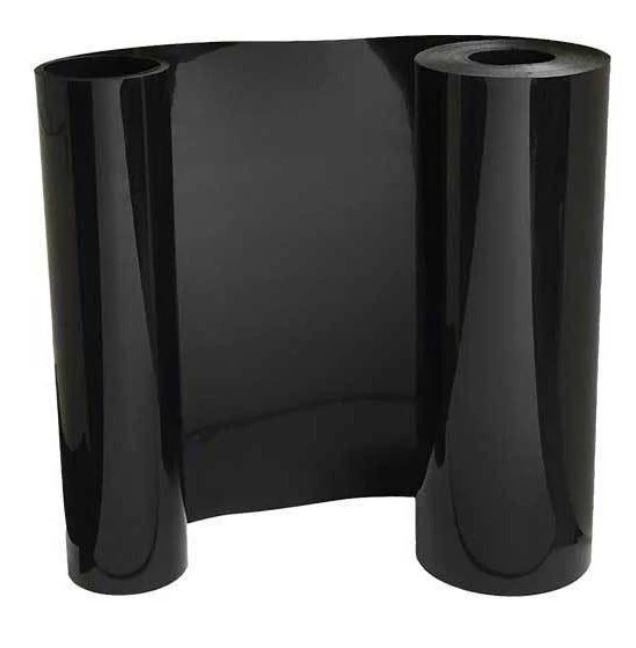
Drainage Ditch Liner
$284.32
FREE SHIPPING
SKU MM-HDPE-18-40-100
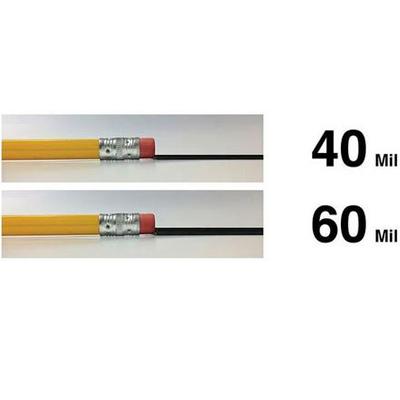
Our HDPE ditch liner is composed of waterproof high density polyethylene plastic material of varying thicknesses. The liner is perfect for lining the bottom of a drainage ditch where minimal water absorption into the ground is preferred. The material is puncture and UV resistant and carries an estimated in-ground lifespan of 100 years. The 40 mil thick liner is more flexible and conforms easier to the shape of the ditch while the 60 mil thick liner provides additional puncture resistance but at the cost of being slightly less flexible.
Material Thickness:40 mil = 3/64”
60 mil = 1/16”